


 From my previous post, I will assume you have decided on the kind of wig you want to make. This post will focus on what you need to make your wig and where to find them.
THINGS YOU NEED
- At least 300 gram/3 bundles of Weave (Hair) (including Frontal or Closure if required)
- Mannequin Head and clamp
- Sellotape
- Thread and Needle/Bonding glue
- Scissors
- Measuring tape
- Wig cap
- Hair Clips
- Dart pins
- Elastic band
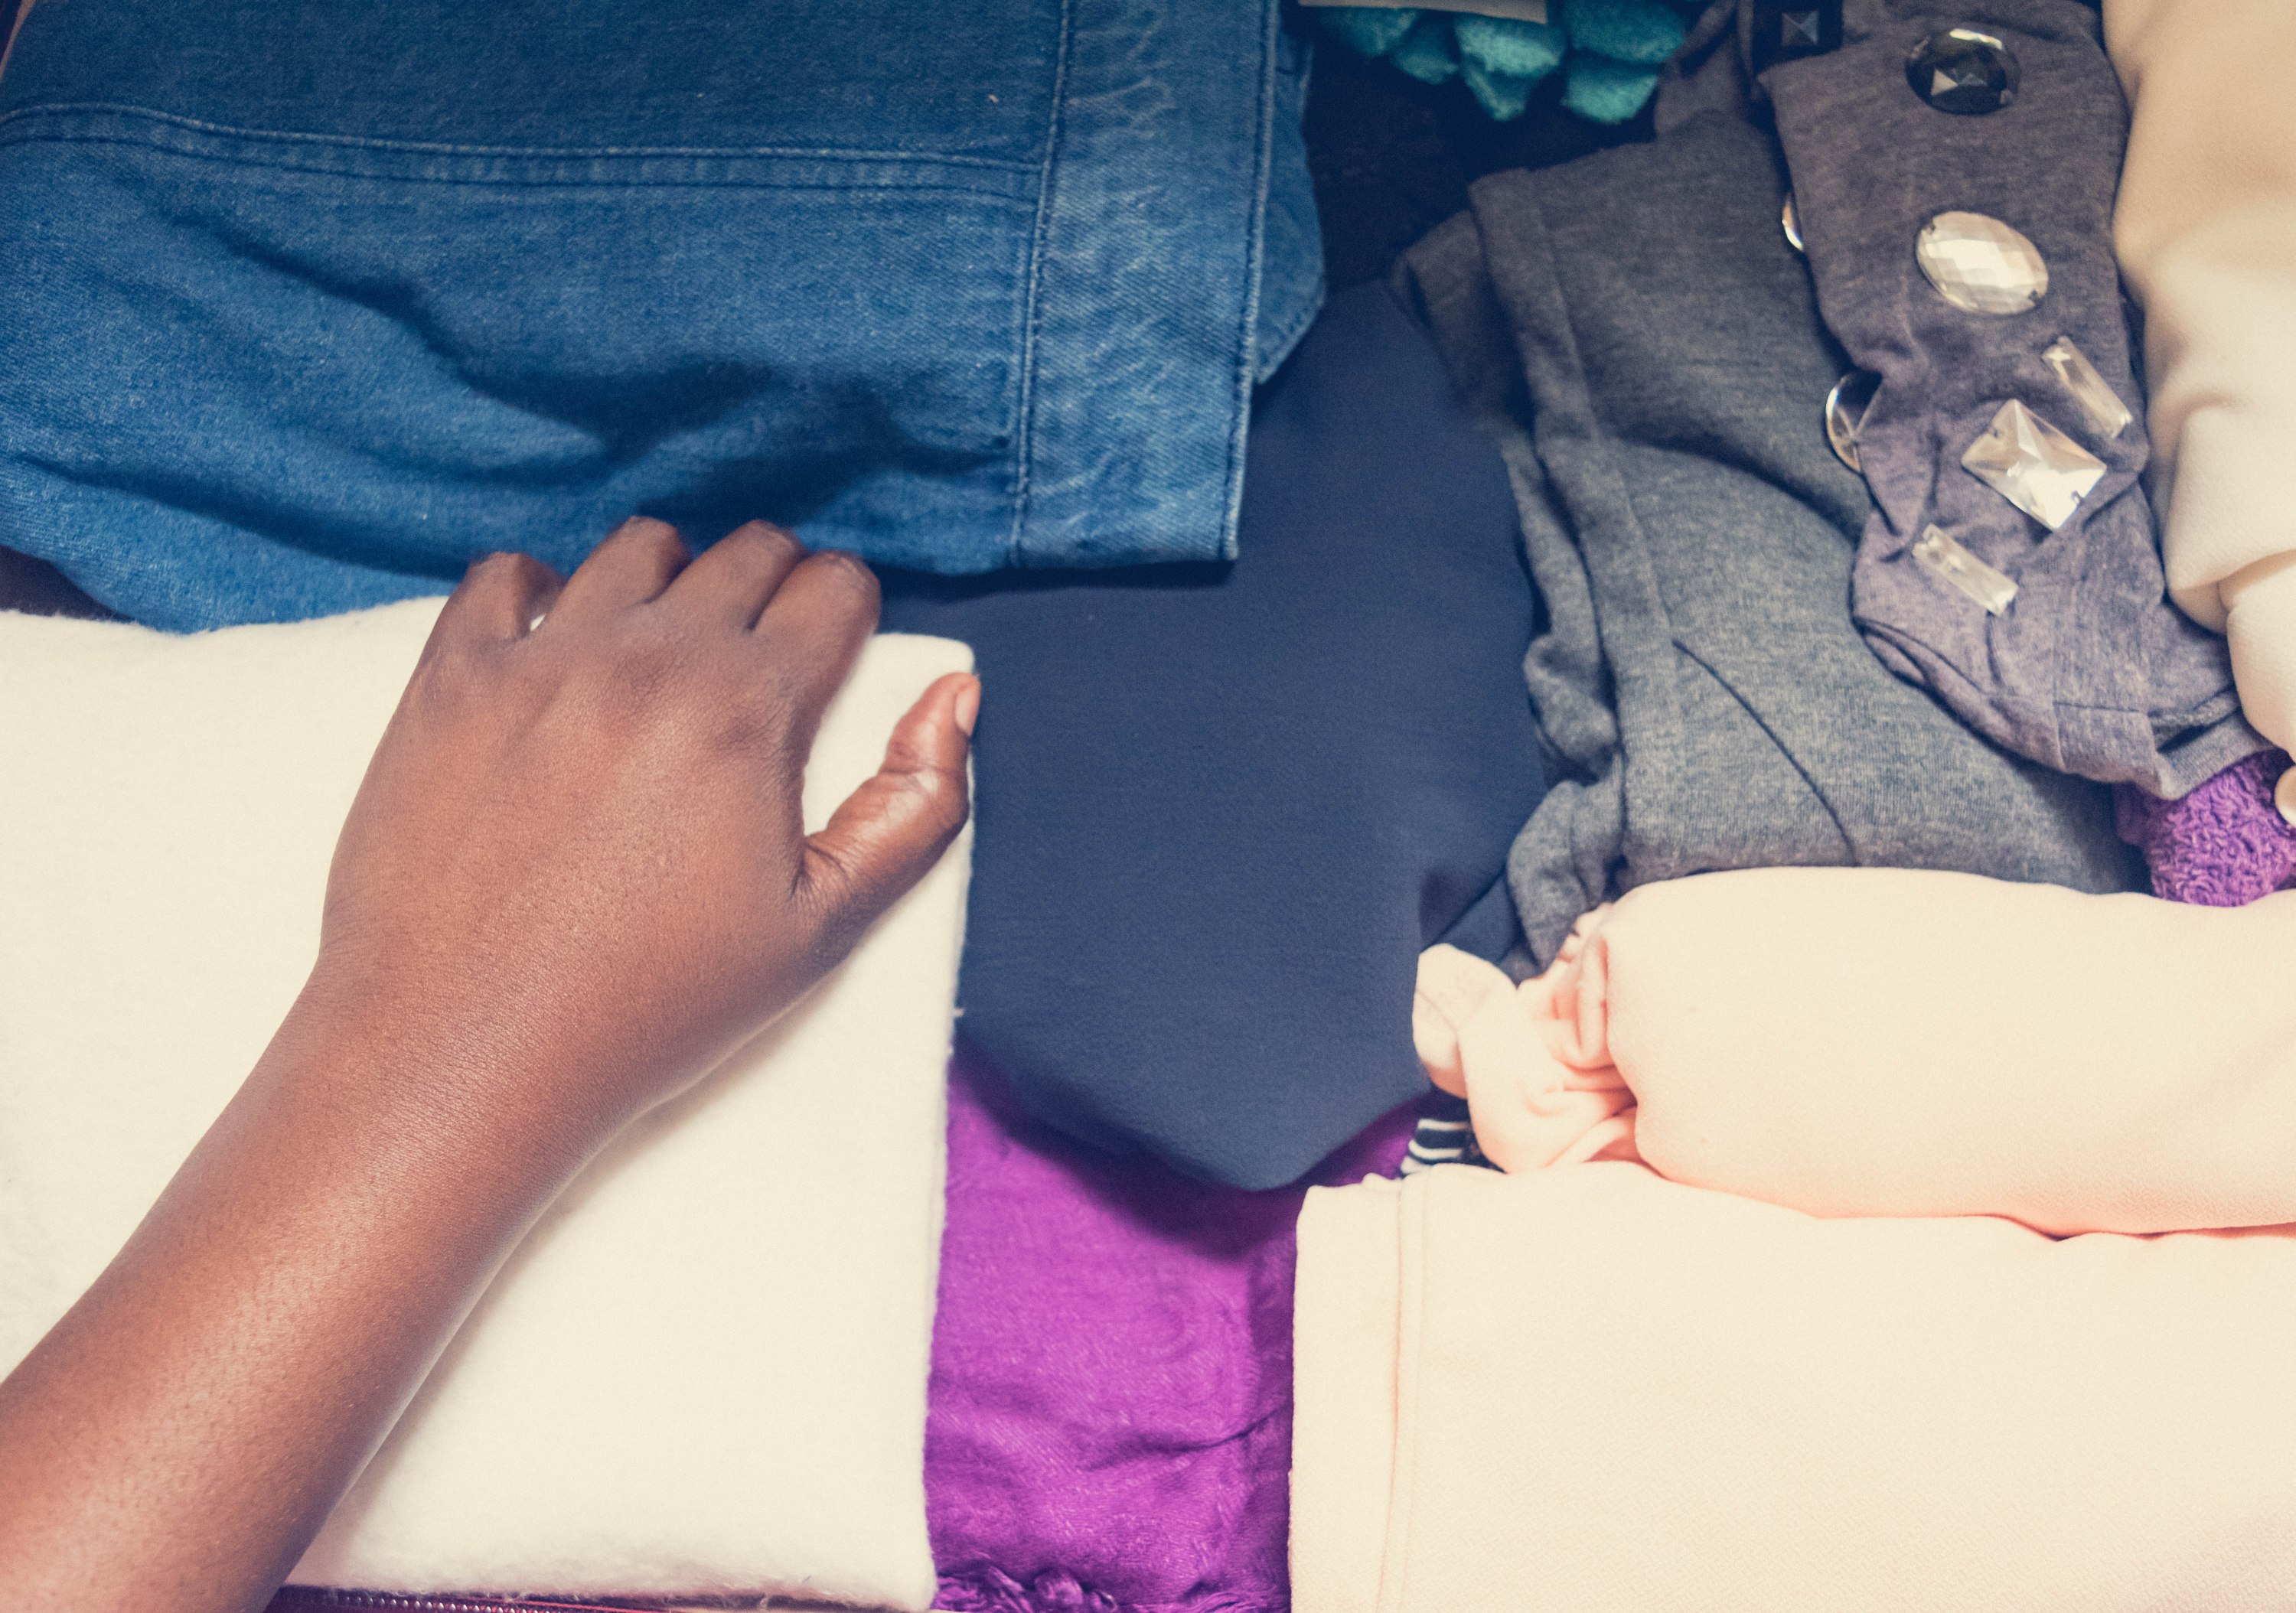
Hair
Well obviously. Depending on what style you want to wear, kinky,curly, wavy or straight, get the weave ready. If you’ve invested in good hair, you are already there. Human hair doesn’t exactly rot or spoil, so if you have some abandoned old weave I will recommend you use it for this first attempt. Wash the hair with warm water and shampoo and then put in that conditioner.
I like to use a lot of conditioner and I massage, comb through, de-tangle and then let it seat there and “marinate” overnight to make sure all that goodness has time to get in. Some people recommend boiling or put it in the microwave but I don’t know how that works and I don’t think it’s hygienic.

Nevertheless, rinse and dry your hair. I like to air dry on the clothes line outside. You may use a hair dryer if you are in a hurry.

Mannequin Head
You need a work surface for your wig to sit on and take the right shape. Few women can do a sew-in on their own head so you need this mannequin head. It’s available in most markets but I don’t know the current price. Getting the right size for my head was a challenge. They were all too small. Consequently, I bought what was available and wrapped a lot of sellotape around the crown of the mannequin’s head till it was my head circumference.
Measuring Tape
You’ll need this to measure the circumference of your head to match it the circumference of the mannequin head, to make sure you get the right fitting.
Sellotape
The mannequin head was too small, so I went around it with a lot of sellotape to get it to the right size.
Wig Cap
This is essentially the base of your wig. There are two common types one made of stretchy net and the other a lot like men’s sock. I’m not sure what the proper names are. The stretchy-net wig cap cost about one thousand naira N1000 in Utako Market or any hair store in the market and the spandex cap cost slightly less and often comes in 2’s. Nevertheless I prefer the stretchy net for two reasons. First, bobby pins get through to secure and hold styles in place better. Next, I tend to sweat in my scalp. I feel like more air gets through net better than spandex. Hence, I recommend the stretchy-net wig cap!


Thread and Needed
Curved needles are preferable for sewing hair. However, they appear to be very scarce in Nigeria. Regardless, The common long thick needle will suffice, with both needle and thread costing less than N500.
Dart Pins
I was instructed to use longer pins but I couldn’t find any in the market so I settled for these ones. I use them to hold the net to the mannequin head so that it doesn’t move around while you sew.
Wig clips
This is to hold hair back or away when you are working.


Elastic band
This is for the back base of the wig to ensure that it is snug and firm around your head.


Sewing
This is the challenge. It takes time especially since you probably haven’t sewn anything since SS3 Home Economics. My first wig took me about 3 days. I got tired, pricked my finger occasionally, and the thread would knot in the wrong place because it was too long, etc. So I’d abandon it for a while and come back to it later. In fact it got to a point when I was afraid I had done rubbish entirely, but I decided to take the rubbish to the end and see. it turned out well.
Fitting
Intermittently, it’s smart to stop and try on your half-done wig to be sure the size and fitting is right, and everything else is as it should be. In my opinion, it’s better for your wig to be too big than too small. If it’s a little too big, the elastic band will rectify it. Nevertheless, if your mannequin head was properly measured, everything should turn out right.
Styling
I’m no styling guru. If you have a MasterCard that works, get the Babyliss Curl Pro I recommended last year and save yourself the hassle forever. If you don’t have one, a straightening or curling iron will do, depending on the style you want to achieve.

Now that we have all we need, the next post will focus on the process.
Click here for How to Make Your Own Wig (Part 3)>

One response to “How to Make Your Own Wig (Part 2)”
This sound very interesting n easy but I doubt if it be that easy to make. Fingers crossed, I will try my hands on it and see how far I can go. Weldone! Good work!
LikeLike